
Easter Egg Decorating with Temporary Tattoos
if you’re looking for a fun way to elEvate your decorated eggs this year, we have the perfect solution—temporary tattoos! This fun, all-ages project works just like applying tattoos to skin—just add water!

To help the decorating process, or just to have a little fun with a coloring page, I’ve created a PDF Guide to get started:

Okay, now let’s get to the eggs!
Start with Clean, Dry Eggs – you can use real eggs, paper mache eggs, or wooden eggs. With the cost of eggs these days, we opted out of the real thing and used these wooden eggs. They’re also great because they store great and can be used for years to come!

2. paint your eggs with a base coat. I use gouache acryllics, but that’s because I’m a professional artist and have these laying around my house. Any acryllic paint will work for this project! Once the base coat is dry, paint a big circle in the middle in a different color. I chose lighter colors, since the temporary tattoos will show up better over light colors.
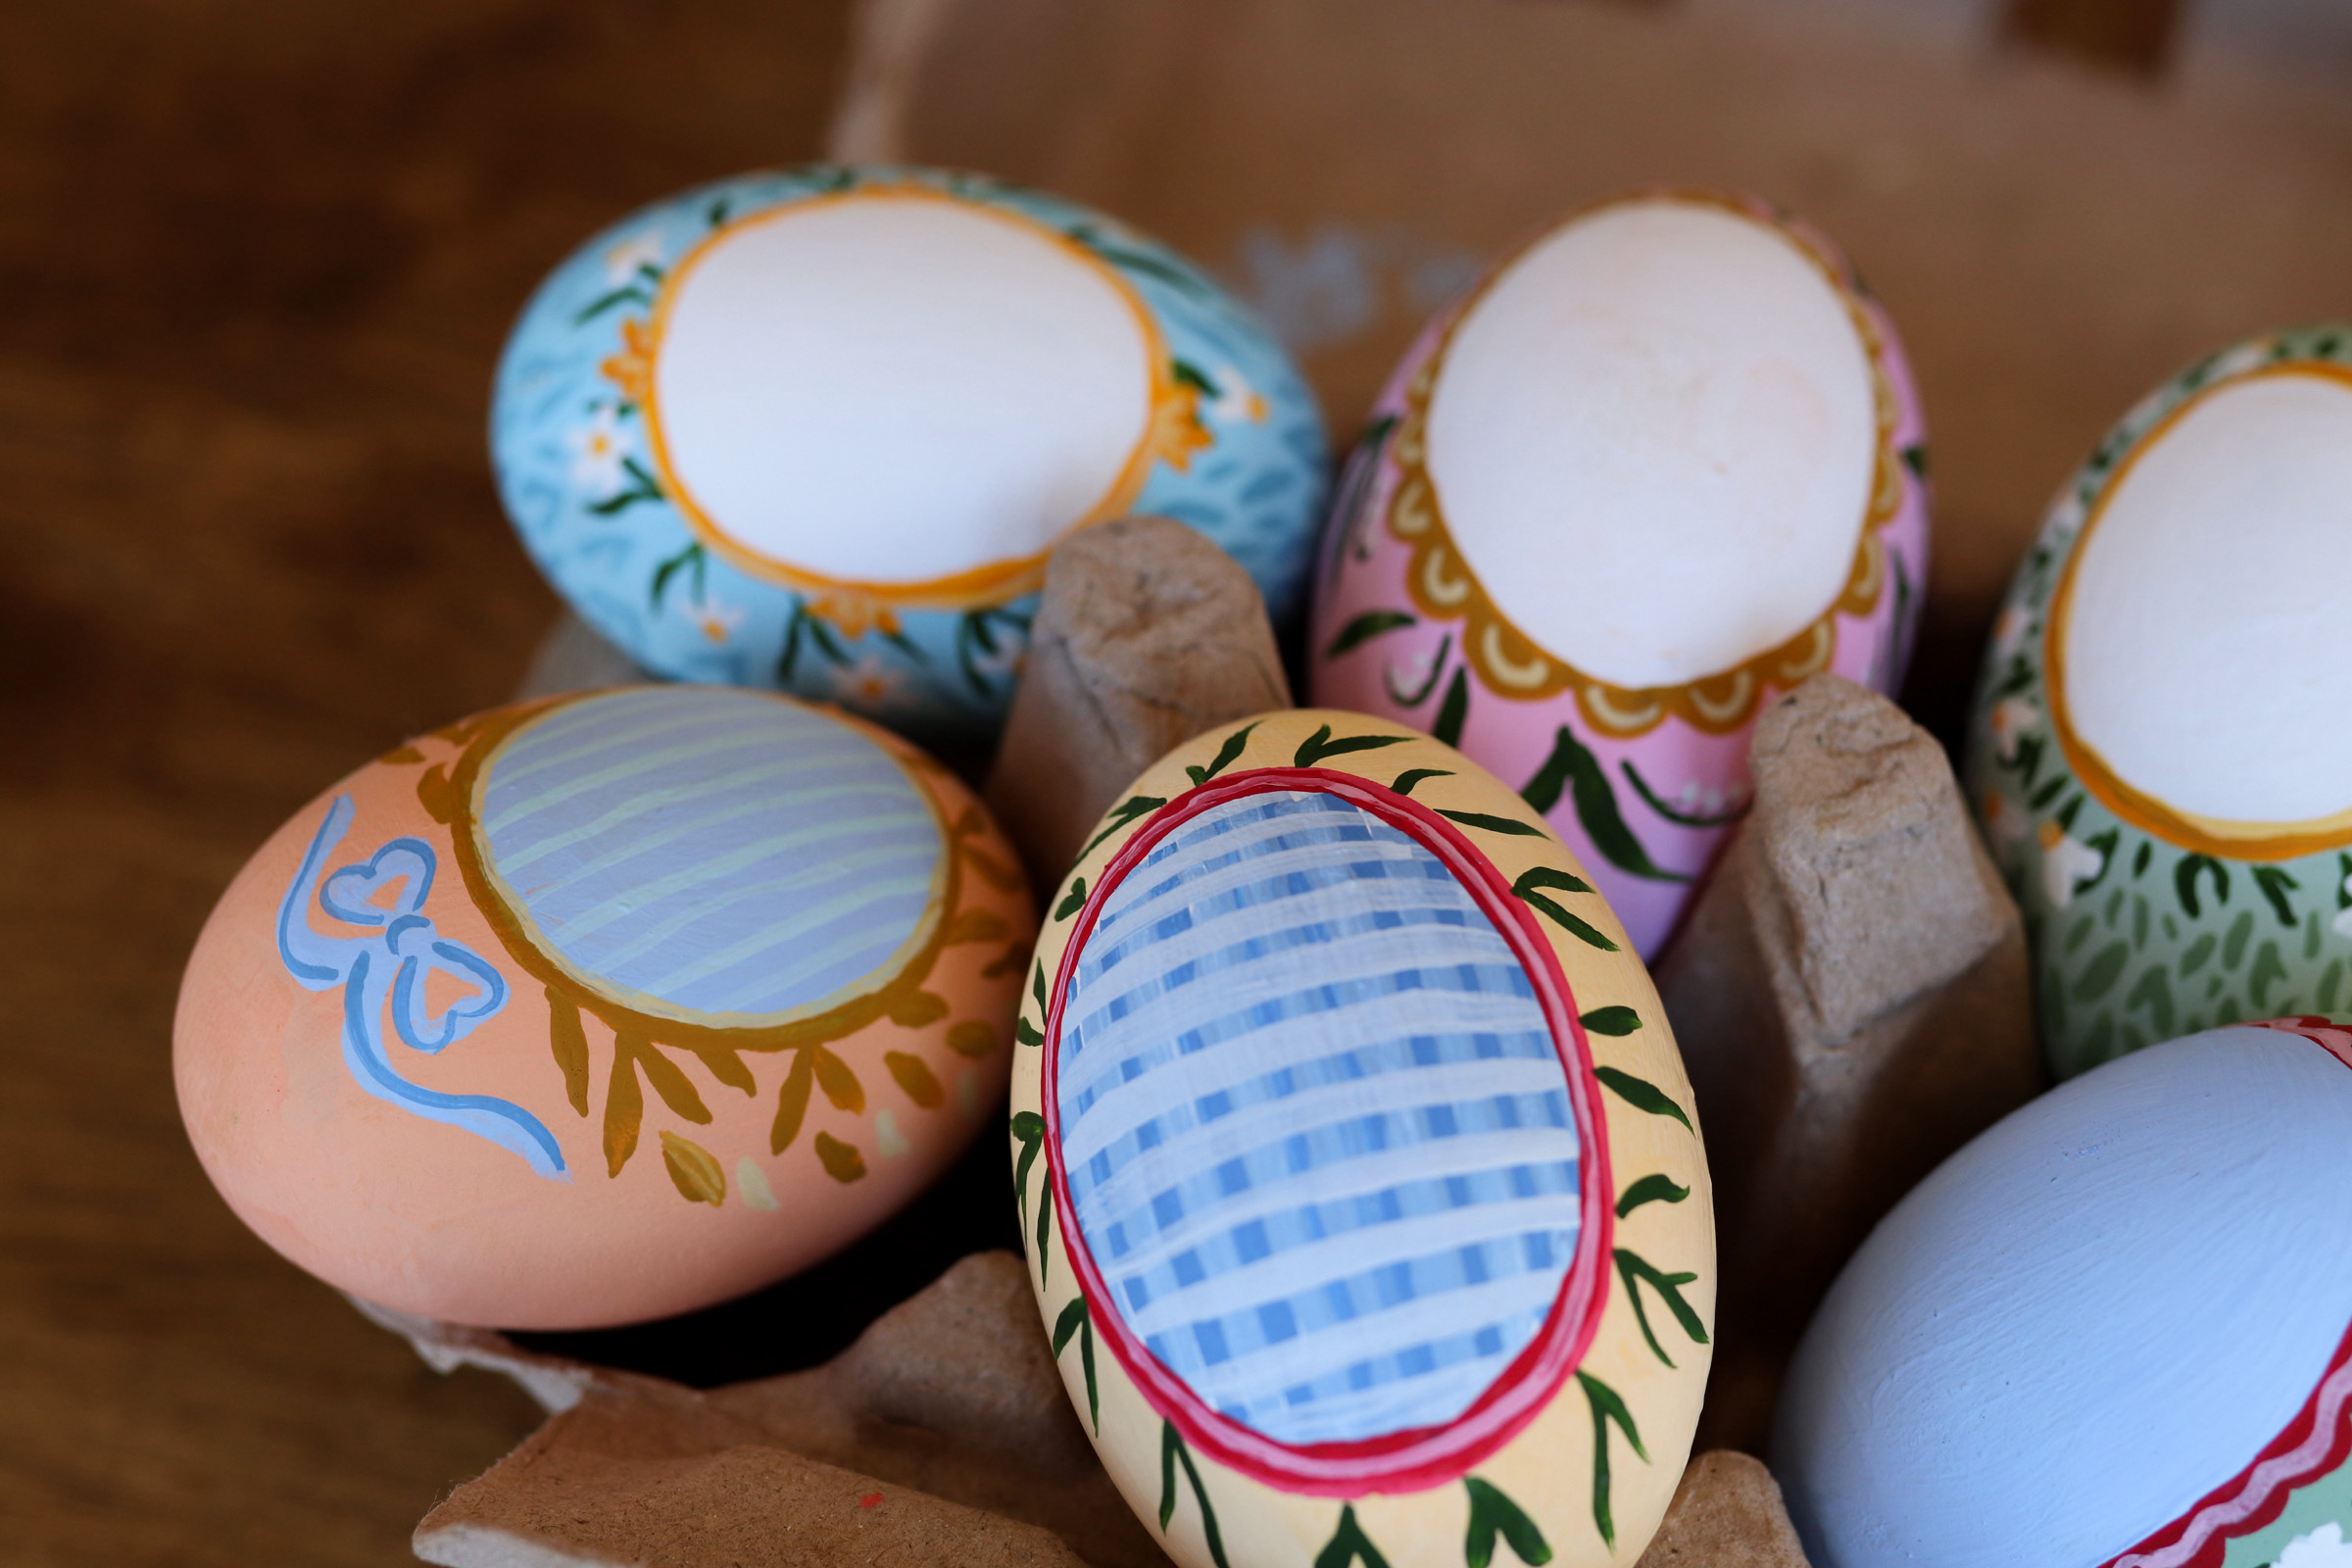
3. paint patterns! I created this cheat sheet to help spark some ideas in this step, but let your creativity go wild! paint frames, ribbons, flowers, greenery, anything! allow your paint to fully dry. I let mine dry overnight.

4. Make sure your paint is completely dry before attempting this step! Choose a temporary tattoo - here is a list of a few of my favorite designs for this project (Spring Bunny, Secret Garden, Flower Power, Farm Animals, Bugs, and rainbows).
remove the plastic film, and trim it close to the edges. Place the tattoo face down on the egg and hold a damp cloth or sponge over it for about 10-20 seconds. Then gently lift the paper backing to reveal your beautifully decorated egg!
Allow the tattoo to set for a few minutes before handling, and then - voila, a beatiful majestic egg. Be sure to post a photo and tag @saint.andcompany on Instagram so we can see it!